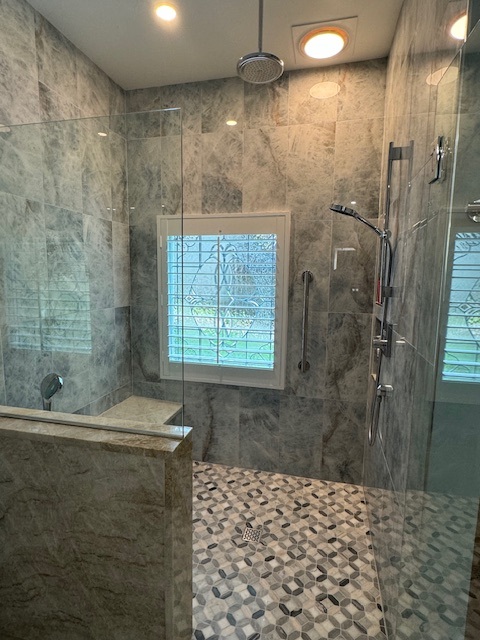
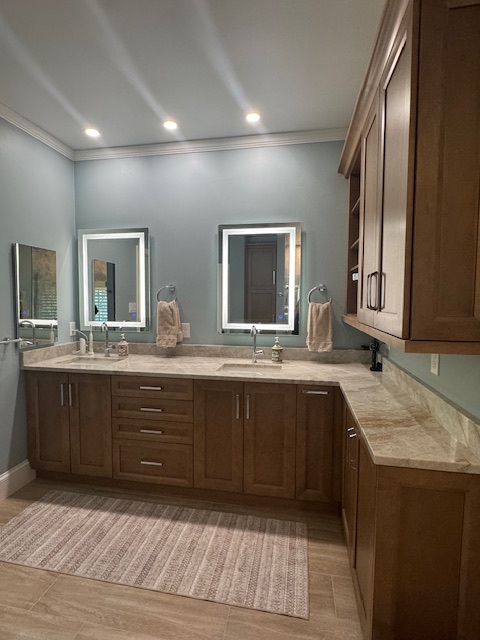
Bathroom Ventilation: What to Expect
Explore how a professional Bathroom Ventilation plan comes together—from fan sizing and duct design to installation and commissioning. Contact Simone Feldman Designs today.
Bathroom Ventilation: What to Expect From Start to Finish
Effective moisture control doesn’t start when the fan is switched on. The best results come from early planning—measuring room volume, selecting an appropriate CFM and sone rating, mapping duct routes to the exterior, confirming electrical requirements, and coordinating with trades to avoid performance-robbing shortcuts.
For homeowners in Roswell, Atlanta, and surrounding neighborhoods, understanding how bathroom ventilation is planned and installed reduces condensation, mildew risk, and lingering odors. While every home is unique, a well-managed process typically follows consistent phases: consultation, assessment, fan and control selection, duct routing design, permitting when required, installation, testing, and final verification.
Simone Feldman Designs leads homeowners through each step. With more than 40 years in renovation and design, Simone delivers precise planning, onsite coordination, and clear communication so your bath fan, controls, and ductwork perform reliably in our local climate.
How Long Does a Bathroom Ventilation Project Take?
Installing or upgrading a bath exhaust system can often be completed in a day, but the full process extends as we evaluate room volume, choose the correct CFM and sone rating, confirm a code-compliant exterior termination, and schedule electrical and roofing or siding work as needed.
A straightforward fan replacement with existing exterior ducting typically moves faster than a new installation that requires routing insulated duct through an attic, adding a roof or wall cap, integrating humidity controls, or correcting past mistakes like venting into an attic. Projects that involve long duct runs, multiple bends, or hard-to-reach spaces usually need additional planning to preserve airflow and reduce noise.
Your ventilation timeline can also be affected by:
- Bathroom size and ceiling height (affects CFM sizing)
- Number of bathrooms receiving upgrades
- Fan location and whether a remote inline fan is preferred
- Electrical access and dedicated switch or control needs
- Permit and inspection requirements
- Fan, control, and duct component availability
- Roof/wall cap installation and weather scheduling
- Attic or crawlspace access limitations
- Insulated ducting and backdraft damper requirements
- Hidden conditions such as prior venting into the attic
- Trade sequencing for electrical, roofing/siding, and finish work
Looking beyond install day to the full project lifecycle helps avoid undersized fans, noisy operation, and moisture problems. Thorough planning up front supports healthier indoor air and fewer callbacks.
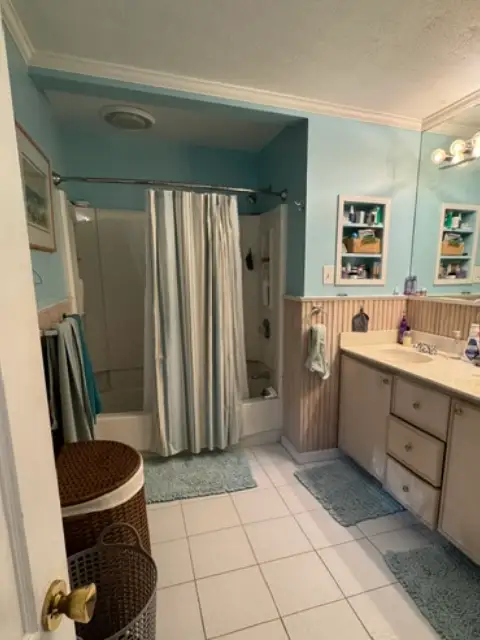
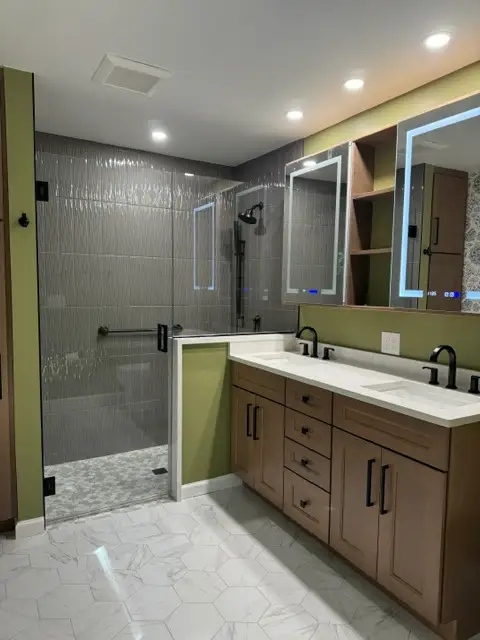
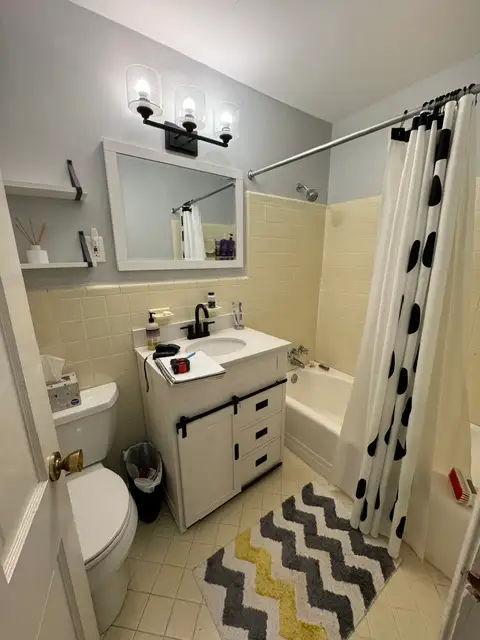
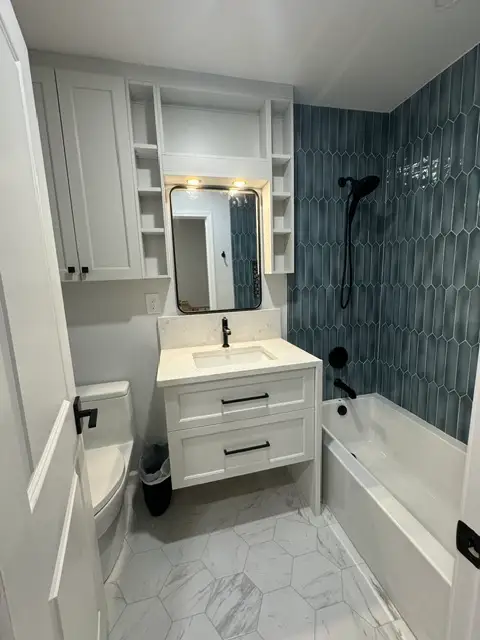
Phase 1: Initial Consultation and Moisture Assessment
The ventilation process starts with a conversation about your home, how the bathroom is used, and any signs of excess humidity—fogged mirrors, peeling paint, mildew at grout lines, or musty odors.
During the initial consultation, Simone Feldman Designs evaluates bathroom size and usage patterns to determine required airflow. We’ll discuss issues such as a noisy fan you avoid using, shower steam that lingers, window condensation in winter, a drafty exhaust, or a fan that runs but doesn’t clear moisture. If windows are your only exhaust, we review why that’s insufficient during cold, hot, or rainy days and propose a reliable mechanical solution.
This stage is also the time to define project scope. Homeowners should be prepared to share:
- Typical shower durations and simultaneous users
- Desire for quiet operation (target sone ratings)
- Preference for humidity or timer controls
- Any known roof, soffit, or wall termination constraints
- Budget expectations
- Whether makeup air is limited by a tight building envelope
- Any history of leaks, attic venting, or mold concerns
- A preferred completion window, if one exists
Clear goals early on set realistic expectations and help prioritize choices that deliver the biggest gains in moisture control, comfort, and durability.
Phase 2: Sizing, Noise, and Duct Route Planning
Before selecting a fan, we calculate the CFM based on room volume and use. Most bathrooms start at 1 CFM per square foot (with 8-foot ceilings), then adjust for higher ceilings, separate water closets, or jetted tubs. For long or restrictive duct runs, we upsize CFM to maintain effective air changes.
Smart planning addresses performance and daily comfort—not just where the fan can fit. We evaluate how air will enter the room (makeup air under the door or via a transfer grille), where steam forms, and the quietest way to exhaust it outdoors.
A well-planned ventilation layout may consider:
- Fan placement near the shower or tub, away from supply vents
- Noise goals using sone ratings or remote inline fans
- Duct length, number of elbows, and smooth metal vs. flex duct
- Insulated ducting through unconditioned spaces to prevent condensation
- Exterior termination with a backdraft damper and proper flashing
- Dedicated exhaust for enclosed water closets
- Makeup air clearance (typically 3/4" under the door)
- Electrical switch location and control strategy
- Limitations posed by trusses, beams, or finished ceilings
- Coordination with lighting locations to avoid glare and shadows
- Humidity management for seasonal temperature and dew point swings
- Accessibility for future service and filter cleaning, if applicable
In compact bathrooms, a high-efficiency, low-sone fan located near the moisture source can outperform a larger, louder unit in the wrong spot. For primary suites, we may recommend multiple pickups or an inline system serving both the shower and water closet with one exterior termination.
Simone Feldman Designs uses 3D visualization and duct path diagrams so you can see fan placement, control locations, and exterior venting before work begins—helping you understand performance, noise expectations, and maintenance access.
Phase 3: Fan, Control, and Component Selections
With sizing and routing set, we finalize the fan, controls, and materials to match performance goals and aesthetics.
Selections may include:
- Ceiling or inline (remote) fan units and grille style
- CFM capacity matched to room volume and duct resistance
- Sone rating targets for quiet operation
- Humidity-sensing, timer, or wall control switches
- Insulated, smooth-walled ducting and proper fittings
- Backdraft damper and exterior roof or wall cap
- Condensation traps for cold-climate runs, if needed
- Integrated light or heater options where appropriate
- GFCI-protected circuits and control compatibility
- Air sealants and insulation for penetrations
- Discreet grille finishes to coordinate with lighting
- Motion-activated or continuous low-speed ventilation setups
- Transition collars and secure strapping for long runs
- Code-compliant fastening and weatherproof flashing kits
- Serviceable filters or washable grilles, if applicable
Each choice should support airflow, quietness, durability, and simple operation. For example, a fan with an ultra-low sone rating improves everyday use, while a humidity sensor can automatically manage post-shower moisture without over-ventilating. Selecting insulated duct and a quality wall cap prevents condensation and backdrafts that can chill the room.
Ordering the correct components in advance—fans, controls, duct fittings, caps, and dampers—keeps installation efficient and avoids substitutions that reduce performance.
Simone helps you evaluate fan performance data, control options, and component quality so your system meets code, functions quietly, and exhausts to the exterior as designed.
Phase 4: Sizing, Specifying, and Permitting
With your bathroom measured and moisture concerns assessed, Simone refines fan sizing (CFM), specifies duct materials and terminations, and sequences the work so installation and inspections stay on track.
Lead times for quiet fans, humidity controls, exterior hoods, and insulated ducting can influence when any tear-out begins. Starting demolition before these key components are secured may leave the bathroom without proper ventilation longer than necessary.
Depending on the scope, this planning stage may include:
- Confirming labor and installation costs
- Ordering exhaust fans, exterior wall or roof caps, backdraft dampers, and controls
- Reviewing product lead times
- Coordinating insulated duct, sound isolation, and specialty fittings
- Finalizing plans for electrical circuits and switching
- Scheduling trades
- Applying for permits, when required
- Preparing for inspections
- Establishing a construction start date
Ventilation upgrades may require permits when adding new electrical wiring, routing a new duct to the exterior, or altering structural members for penetrations. Inspection timing for electrical and mechanical work can affect the schedule, especially when roof or exterior access is needed.
At Simone Feldman Designs, project planning includes coordinating the right trades for the work and ensuring that ventilation decisions align with code, performance goals, and the approved design. Simone works closely with electricians, HVAC professionals, roofers, and other trusted residential specialists throughout installation.
Phase 5: Preparing Your Home for Installation
Before ventilation work starts, homeowners should plan for short interruptions to daily routines. If the project involves replacing a fan or adding a new duct run, it’s helpful to prepare the space to protect finishes and keep access clear.
Preparation may include:
- Removing personal toiletries, medications, towels, and décor
- Clearing nearby hallways and access paths
- Relocating fragile items from adjacent rooms
- Setting up a temporary grooming area if the bath will be closed off
- Planning bathroom use around brief power shutoffs
- Discussing pet access and household schedules
- Protecting furniture or belongings near the work area
- Confirming parking, entry, and access expectations with the project team
Installation can involve cutting ceiling openings, routing ducts through attics or joist bays, and occasional exterior work, which means dust, noise, and short electrical interruptions. A professional team should outline the sequence, which trades will be on site, and what to expect at each step.
Simone remains closely involved throughout installation, visits job sites regularly, and keeps clients informed about progress, next steps, and any adjustments that may affect the schedule.
Phase 6: Removal and Rough-In
Removing an old fan or correcting an inadequate duct run is often the first visible step. Existing fans, underperforming ducts, and improper terminations are taken out so the new system can be installed correctly.
Once ceilings are opened, the team may discover hidden issues such as ducts venting into the attic, missing backdraft dampers, mold from chronic condensation, uninsulated or crushed flex duct, outdated wiring, or roof caps that were never sealed.
Not every project encounters these conditions, but building in contingency time and budget is wise. Addressing moisture sources and code deficiencies now prevents future mildew, odors, and damage.
After removal, rough-in may include:
- Framing changes
- Routing and securing insulated duct to the exterior
- Electrical wiring and switch placement, including timers or humidity sensors
- Ventilation ducting
- Blocking for fan housings or ceiling-mounted accessories
- Preparing roof or wall penetrations and exterior caps
- Sealing and repairing ceiling openings
- Air sealing around penetrations to reduce condensation risk
This phase is critical: correct duct sizing and slope, airtight connections, and safe wiring determine how effectively your bathroom exhaust removes moisture and how quietly it runs over time.
Phase 7: Air Sealing, Insulation, and Finishes
For durable bathroom ventilation, controlling air and temperature around the duct is essential. Fans and ducts that are properly sealed and insulated reduce condensation risk and help the system maintain airflow to the exterior.
Depending on the project, this phase may involve:
- Installing an airtight fan housing to ceiling plane
- Insulating duct runs and sealing all joints
- Applying vapor-safe air barriers at penetrations
- Testing airflow (CFM) after rough-in
- Repairing ceilings and paint prep
- Mounting grilles and trim plates
- Weather-sealing exterior wall or roof caps
- Integrating vanity areas with proper makeup air
- Completing transitions at ceiling and wall finishes
- Painting walls and ceilings
Finishing work takes time when ducts run through tight framing, exterior penetrations require careful flashing, or when ultra-quiet operation is targeted with additional sound isolation. Rushing can lead to air leaks, noisy vibration, or condensation problems.
Simone Feldman Designs oversees skilled trades to verify that fan housings are gasketed, ducts are insulated and sloped, and exterior terminations include backdraft dampers—details that protect your bathroom from humidity and heat loss while keeping the system quiet.
Phase 8: Controls, Commissioning, and Clean-Up
Once the fan and ducting are complete, attention turns to how the system runs day to day. Proper controls and final testing ensure reliable moisture removal without needless noise or energy waste.
Typical finishing work may include:
- Installing timer switches or humidity-sensing controls
- Setting sone-level expectations and vibration isolation
- Confirming bathroom door undercut for makeup air
- Balancing airflow and verifying exterior discharge
- Labeling switches and controls
- Mounting accessories
- Sealing minor penetrations
- Completing paint touch-ups
- Testing lights, outlets, fans, drains, and plumbing fixtures
- Cleaning the space for final review
Some specialty grilles or custom wall caps are measured after finishes are in place, so fabrication and installation may occur near the end. This is normal and ensures a tight, weatherproof fit.
Phase 9: Final Walkthrough and System Handover
The final walkthrough lets homeowners and the project team verify performance together. This is when airflow is confirmed, noise levels are evaluated, controls are explained, and any remaining details are addressed.
During the final review, homeowners should understand:
- How to operate exhaust fans, timers, and humidity sensors
- How to clean fan grilles and maintain ducts and exterior caps
- Which components require periodic inspection (dampers, filters where applicable)
- How to manage shower moisture and dwell times to prevent mildew
- What warranty information applies to products or workmanship
- Which final touch-ups or punch-list items, if any, remain
A thorough handover ensures you can manage humidity effectively from day one, protecting finishes and keeping the bathroom fresh and healthy.
Factors That Can Affect the Timeline
Every bathroom ventilation upgrade has variables. Even a carefully sequenced installation can be affected by attic access, exterior work, inspection timing, or changes requested after the project begins.
Common reasons a ventilation project may take longer include:
- Changes to the scope after work begins
- Delayed fans, exterior caps, specialty controls, or dampers
- Backordered or damaged materials
- Custom flashing or fabrication for roof or wall terminations
- Permit and inspection scheduling
- Hidden wiring, framing, moisture, or mold remediation needs
- Structural coordination for new penetrations
- Long duct runs that require rerouting or insulation upgrades
- Weather-related scheduling challenges for roof or exterior access
- Homeowner selection changes during construction
The best way to reduce delays is to size the fan correctly up front (CFM by room volume), order critical components early, allow contingency for discoveries, and work with an experienced professional like Simone who coordinates mechanical, electrical, and exterior work from planning through completion.
Plan Your Bathroom Ventilation With Confidence
Effective bathroom ventilation protects your home from moisture damage, mildew, and lingering odors. A smart plan goes beyond picking a fan—it factors in room volume for proper CFM sizing, noise control with appropriate sone ratings, correctly routed ductwork to the exterior, and controls that respond to real-world humidity so the space dries quickly after every shower.
Simone offers end-to-end guidance on bath fan selection and placement for homes in Roswell, Atlanta, and nearby neighborhoods. With 40+ years in residential projects, Simone coordinates accurate airflow calculations, recommends quiet and efficient fan models, plans insulated duct routes with backdraft dampers, and oversees installation details tailored to local climate and building codes.
If you’re updating a bathroom or solving moisture issues, contact Simone to schedule a consultation and develop a clear ventilation plan that keeps your bath dry, healthy, and comfortable.