How Many Pendant Lights Over a Kitchen Island?
Get the answer with a tailored lighting plan from Simone Feldman Designs. Our CKBD-certified approach draws on 40+ years of kitchen expertise to determine the right number, size, spacing, and brightness for your island pendants—so your cooking, prep, and entertaining zones shine.
Schedule your consultation today!
Island Pendant Lighting Planned Right in Atlanta by Simone Feldman Designs
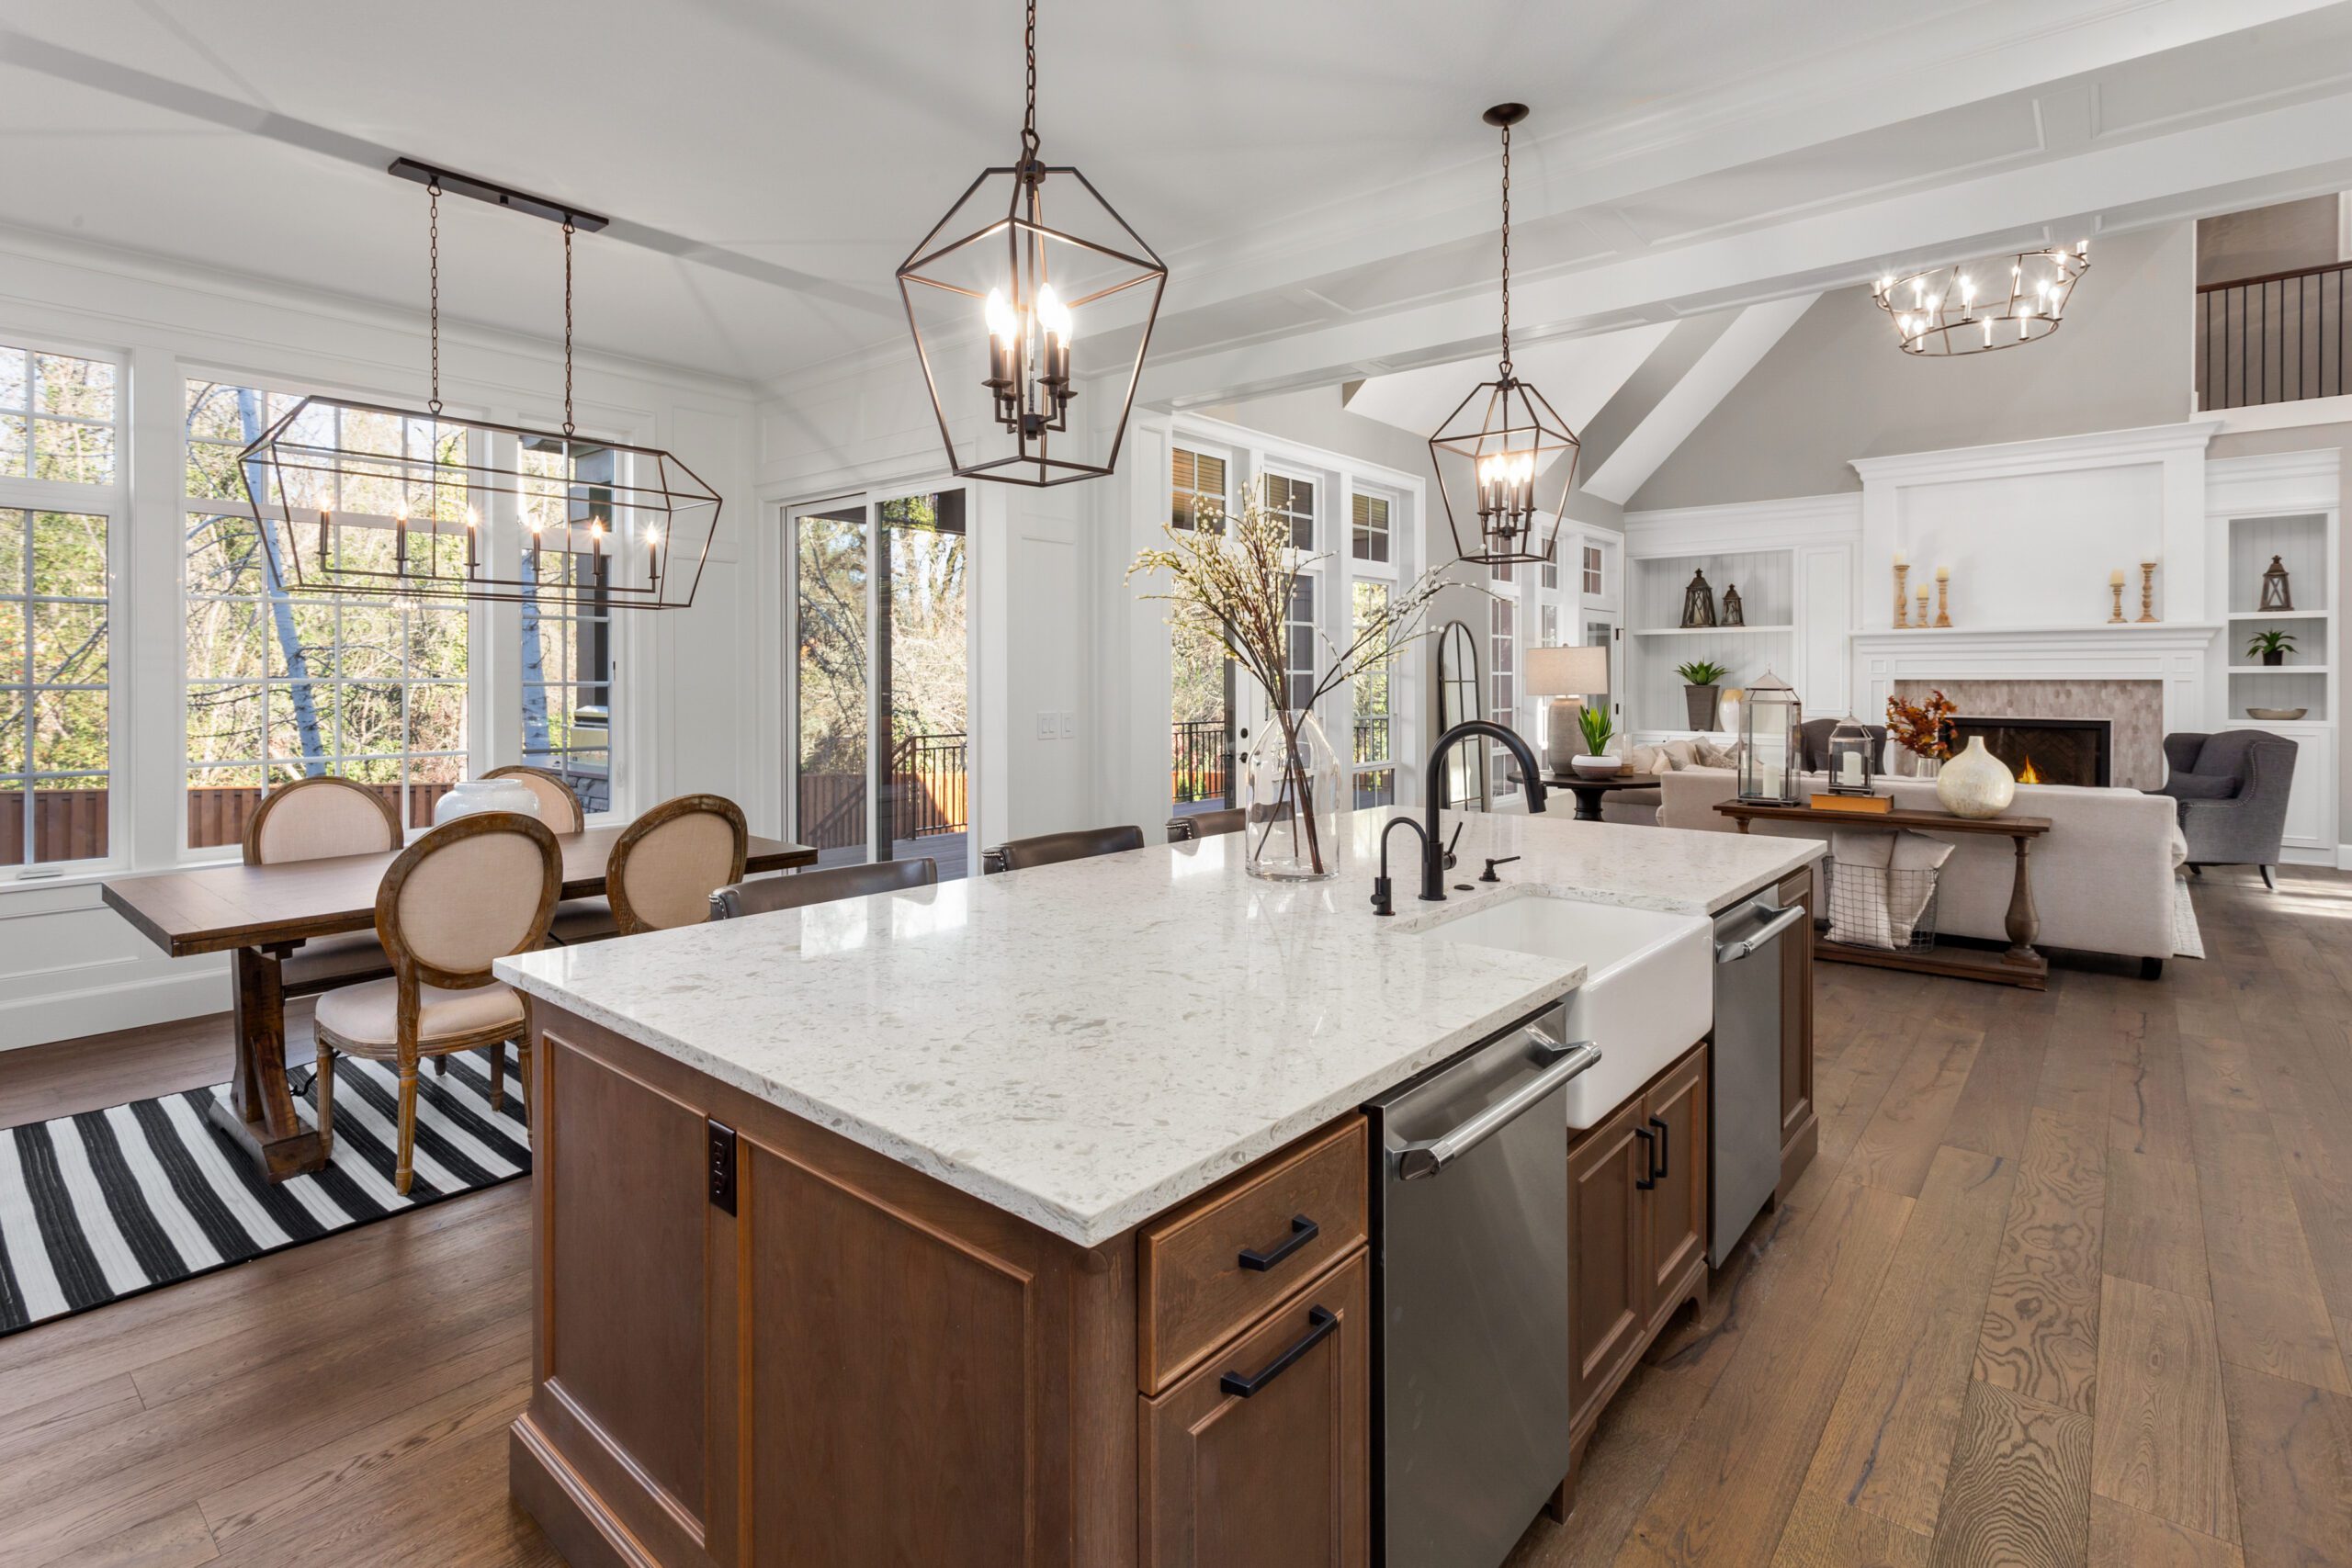
How many pendant lights go over a kitchen island depends on island length, pendant diameter, ceiling height, and how you use the space. At Simone Feldman Designs, we go beyond picking pretty fixtures—we calculate spacing and sightlines, set safe mounting heights, map lumen levels, and coordinate with existing cans and under-cabinet lighting so your island is evenly lit without glare.
With more than 40 years of residential renovation experience, Simone brings award-winning judgment and buildable details to lighting plans throughout Roswell, Atlanta, and nearby communities. Our process includes precise field measurements, photometric guidance, and hands-on coordination with electricians and cabinetmakers to ensure boxes, blocking, and dimmers are exactly where they need to be for a clean, cohesive result.
Why Pendant Count Matters
The right number of pendants makes the difference between harsh hotspots and balanced, functional light. Proper planning considers fixture size, bulb output, beam spread, and traffic flow so the island supports prep, dining, and conversation without shadows or visual clutter.
Good planning helps homeowners:
- Deliver even task lighting across the full island with the fewest fixtures needed
- Maintain clear sightlines to ranges, windows, and living spaces without visual overload
- Integrate dimmers and zones so pendants shift from bright prep to soft entertaining
- Select the right lumen output and color temperature for accurate food prep and ambiance
- Avoid costly changes by pre-planning junction box locations, spacing, and switching
Simone's Credentials and Expertise
Island pendant planning demands precise measurements, electrical coordination, and an eye for proportion. Simone Feldman applies rigorous design standards to determine how many pendants you need, where they should be placed, and how bright they should be for the way you cook and gather.
- Certified Kitchen Designer (CKD) and Certified Bath Designer (CBD) through the National Kitchen & Bath Association (NKBA)
- Certified Aging-in-Place Specialist (CAPS), focusing on accessible, future-proof design
- 40+ years of residential renovation experience since 1984
- Former Vice President of Educational Programs for the NKBA Georgia Chapter
- Specialty in architectural residential space planning, from concept design through construction drawings and job site supervision
These qualifications inform Simone’s expertise in fixture sizing and spacing, mounting heights over countertops, beam spread and glare control, dimmer and driver compatibility (ELV/MLV/0–10V), box support and load ratings, and code-aware coordination—details that make your island pendants safe, comfortable, and beautiful.
How to Plan Pendant Lights Over an Island
Designing the right number of island pendants involves several key phases that Simone manages from start to finish:
- Consultation: Discuss how you prep, dine, and entertain. Simone reviews island size, ceiling height, existing lighting, and finish palette to target the ideal pendant count and scale.
- Design & Planning: Develop elevations and spacing diagrams; choose fixture diameter, output (lumens), and color temperature; specify dimmers and control locations; confirm sightlines and clearances.
- Preparation: Verify ceiling structure and add blocking if needed; locate and mark junction boxes; plan switching, circuit loads, and smart controls to avoid flicker and hum.
- Construction: Electricians rough-in boxes and wiring; Simone coordinates with cabinetry, HVAC, and beams to maintain centered alignment and proper spacing.
- Installation: Hang fixtures, set mounting height (typically 30–36 inches above countertop), level and align canopies, and aim light for even coverage.
- Final Walkthrough: Confirm light levels, dimming range, and glare control; review care and lamping; verify that the pendant layout performs as designed.
Most island pendant updates install in one to two days for fixture swaps and three to six days for new rough-ins, depending on ceiling access, fixture complexity, and finish work.
Cost of Island Pendant Lighting in Atlanta
Understanding lighting costs helps set expectations and prioritize impact. In 2026, most Atlanta homeowners can expect the following ranges:
- Minor/Cosmetic Refresh: $800 – $2,500 (swap 1–3 pendants, add dimmer, reuse existing boxes)
- Mid-Range Remodel: $2,500 – $6,500 (new box locations, upgraded fixtures, coordinated controls, ceiling patch/paint)
- High-End/New Layout: $6,500 – $18,000+ (designer fixtures, multiple zones, smart controls, structural blocking, complex alignment)
On average, quality pendants run $200 to $1,500+ each, with installation typically $250 to $650 per fixture; new wiring, blocking, and smart dimming can add $300 to $1,200+ per zone. Total cost varies with fixture size and finish, ceiling conditions, control type, and access.
Simone provides clear guidance on scope, pricing, and timelines during planning, helping you achieve the best light for your island while staying aligned with your budget.
Best Pendant Sizes and Styles for Kitchen Islands
Choosing the right pendant size is essential to determine how many you’ll need. Simone helps you balance fixture diameter with island length, ceiling height, and brightness so the composition feels intentional and performs beautifully.
Top choices for Atlanta kitchens include:
- Glass Shades: Clear or lightly frosted glass spreads light widely—great for smaller islands or when using two larger pendants; consider frosted glass to reduce glare.
- Metal Domes: Focused downlight with minimal spill; ideal when you need crisp task lighting and a bold silhouette without visual clutter.
- Opal/Drum Diffusers: Soft, even glow from fabric or opal acrylic diffusers; perfect for open-concept spaces where ambience matters as much as task light.
- Linear Multi-Light Bars: A single fixture with multiple heads provides balanced coverage on long islands—often replacing three pendants with one streamlined piece.
- Natural Textures: Rattan, wood, or mixed materials add warmth; pair with warm LEDs and dimmers for cozy dining without overpowering the space.
Simone aligns style with lumen output, beam spread, and finish palette so your pendants look cohesive by day and deliver comfortable light at night.
How to Choose Pendant Layout and Details
Smart layout determines how many pendants belong over your island. Simone models spacing, light overlap, and control zones so the design feels airy, proportional, and practical.
Key factors to consider:
- Ceiling Height and Clearance: Typical hang is 30–36 inches above the countertop; adjust for 8–10 ft ceilings and keep clear of head height over seating.
- Spacing and Quantity: Evenly space pendants 24–30 inches apart and inset 6–12 inches from island ends; use two large pendants for shorter islands, three smaller for longer runs.
- Lumens and Color: Target bright, dimmable task light (approx. 300–700 lumens per pendant depending on size) and 2700–3000K for warm, food-friendly color.
- Dimmers and Controls: Specify compatible dimmers (ELV/MLV/0–10V) and group pendants on a dedicated zone for flexible mood and energy savings.
- Sightlines and Seating: Keep fixtures out of key views to windows, TVs, and hoods; center to seating for comfortable conversation without glare.
- Budget Allocation: Island pendants often represent a small portion of a remodel; invest in the right scale and control system for the biggest functional upgrade.
Simone helps you balance proportion, performance, and cost so your island pendants work hard, photograph beautifully, and stand the test of daily life.
How Many Pendant Lights Over a Kitchen Island?
Getting the number of pendants right is about more than style—it’s about scale, brightness, comfort, and code. Simone’s approach evaluates island length, fixture diameter, spacing rules, lumen needs, mounting height, and budget to determine whether one linear fixture, two balanced pendants, or a trio makes the most sense for your kitchen.
Key considerations when planning kitchen island pendants:
- Establish Your Budget: Include fixtures, electrician labor (new boxes, patch/paint), dimmers and smart controls, canopy/chain adjustments, and potential ceiling reinforcement for heavy lights.
- Understand Pendant Types:
- Mini Pendants: Most economical; great for narrow islands or secondary light layers; typically 4"–8" diameter; require more fixtures to achieve task brightness.
- Medium Pendants: Cleaner look with fewer fixtures (often 2 over 6–7' islands); 10"–16" diameter; versatile scale and strong task performance.
- Linear Island Light: One long fixture for even coverage and minimal visual clutter; ideal for 5'–9' islands; may cost more and needs careful centering.
- Consider Timeline: In-stock pendants can install quickly; custom finishes, longer chains/rods, or backordered models can add 2–8 weeks. Electrician schedules and ceiling repairs also affect timing.
- Pay Attention to Materials: Verify fixture diameter and spread, lumen output, color temperature (2700K–3000K for kitchens), CRI 90+ for accurate color, and dimmable drivers or bulbs. Choose finishes that resist fingerprints and are easy to clean.
- Balance Style and Function: Follow spacing rules of thumb (about one fixture diameter apart and 6"–12" in from each island end), set bottom of shades roughly 30"–36" above the countertop, and avoid glare into seated sightlines or across adjoining rooms.
- Quality Fabrication & Installation: Precise junction box placement, aligned canopies, plumb hangs on sloped ceilings, and compatible dimmers ensure a refined, long-lasting result. Coordinate switching with under-cabinet and recessed layers.
Simone helps you size fixtures to your island, calculate light levels, map box locations, and coordinate with electricians so the final pendant layout looks intentional and performs beautifully.
Financing Options for Kitchen Island Lighting
Financing your lighting upgrade lets you refresh the heart of your home without draining savings. Atlanta homeowners commonly use:
- HELOC (Home Equity Line of Credit): Popular for kitchen updates of all sizes, including complete lighting plans. Borrow against home equity with variable interest rates.
- Personal Loans: Unsecured loans up to $450,000 with fixed rates and no equity required. Rates typically range from 6.49% to 35.99% APR depending on credit profile.
- Cash-Out Refinance: Refinance for more than you owe and use proceeds for high-impact upgrades like new pendants, dimmers, and layered lighting—best when rates are favorable.
- Contractor Financing: Some remodeling companies offer plans with predictable payments that can cover fixtures, electrical work, and patch/paint.
- Credit Cards: Suitable for smaller lighting projects or short-term financing; be mindful of higher interest rates.
Current renovation financing rates in Georgia run anywhere from 6.5% to 14.85% APR, depending on loan type and credit profile. Simone can help you align budget and scope—whether that’s one linear light or a full island lighting redesign—so the investment fits your timeline and goals.
Kitchen Island Pendant Lighting Mistakes to Avoid
Avoiding common pendant pitfalls saves time, money, and frustration. Simone’s experience highlights these issues to watch for:
- Skipping Professional Planning: DIY layouts often miss ideal spacing, brightness, dimming, and code clearances. A certified designer sizes fixtures to the island and coordinates electrical for a flawless result.
- Underestimating Ceiling Conditions: Skewed boxes, uneven ceilings, or insufficient blocking cause crooked hangs and wobble. Plan junction box placement, support for heavy fixtures, and patch/paint ahead of time.
- Choosing Trends Over Timelessness: Oversized or overly ornate shades can dominate the room. Aim for scale and finishes that complement cabinetry, counters, and adjacent rooms long-term.
- Ignoring Glare and Color: Clear glass can create hotspots; dark shades may trap light. Target 2700K–3000K, CRI 90+, use diffusers when needed, and test bulb types with your finishes.
- Poor Height & Spacing: Pendants hung too low block views; too high lose task light. Keep bottoms about 30"–36" above the island and space roughly one fixture diameter apart, with 6"–12" from each end.
- Not Planning Controls & Care: Skipping dimmers limits flexibility; complex finishes need special cleaning. Specify compatible dimmers/smart controls and easy-to-maintain materials.
Simone’s detailed lighting plans, fixture mockups, and on-site coordination help you sidestep these issues and achieve pendants that look custom-fit and perform every day.
What Clients Say About Simone's Kitchen Lighting Designs
Across Atlanta, Simone Feldman Designs is praised for thoughtful lighting plans and beautiful, durable results—especially when sizing and placing pendants over kitchen islands. Clients appreciate Simone’s clear communication, realistic timelines, and hands-on guidance from fixture selection through final aiming and dimmer setup.
On Houzz, Simone Feldman Designs is noted as a full-service residential kitchen and bath design firm offering lighting plans, 3D renderings, ceiling elevations, fixture sourcing, photometric guidance, project management, and construction drawings. Expertise includes architectural space planning, universal design, and sustainable, low-glare lighting specifications that make islands both functional and inviting.
Homeowners value Simone’s ability to translate inspiration images into workable solutions—determining whether one, two, or three pendants are best, aligning boxes, and coordinating electricians—so the finished layout looks intentional and provides the right brightness for prep and dining.
Kitchen Island Pendant Light Ideas
Selecting the right pendant approach impacts task visibility, visual balance, and overall room harmony. Simone helps you weigh fixture size, shade opacity, and finish against maintenance and budget to land on the best plan for your island.
Popular island lighting approaches include:
- Mini Pendants: Slim and versatile; use in sets of two or three for narrow islands or as an accent with recessed task lighting.
- Medium Dome or Schoolhouse Pendants: Classic shapes with soft diffusion; ideal in pairs over 6' islands.
- Statement Pendants (18"–24"): Bold focal points that minimize fixture count; best for spacious kitchens with higher ceilings.
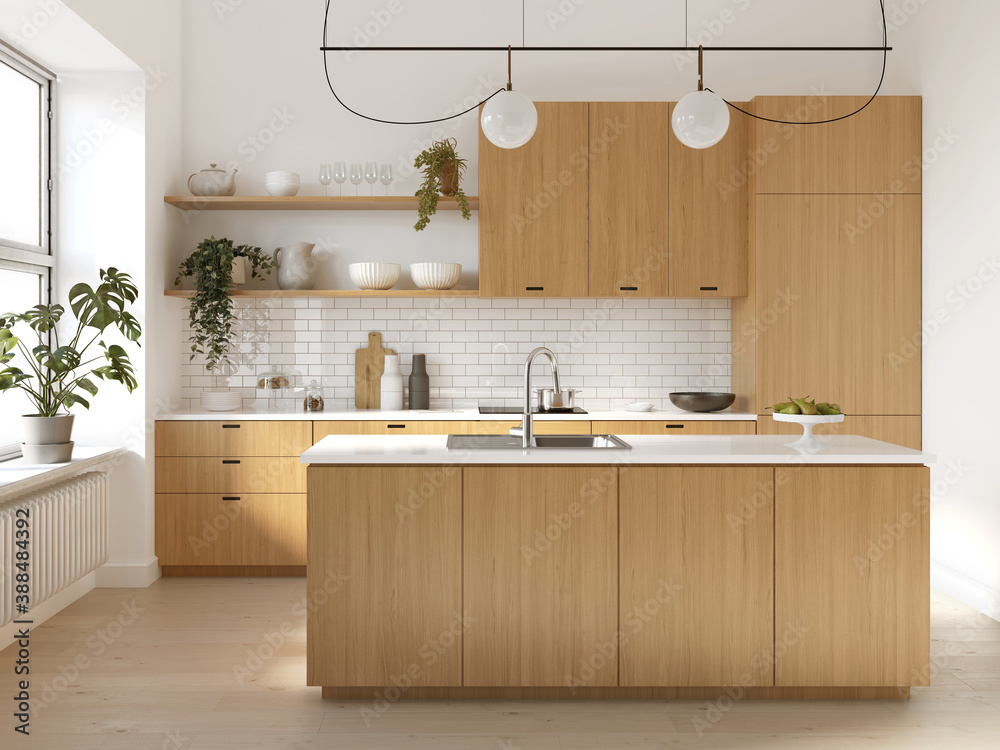
- Linear Island Lights: Single elongated fixture that delivers even coverage with minimal visual clutter.
- Clear or Ribbed Glass Shades: Airy presence that preserves sightlines; add dimmers to tame potential glare.
For smaller kitchens, fewer, slimmer fixtures or a single linear light keep the room feeling open. Simone uses 3D imaging and elevations to preview spacing, brightness, and eye-level sightlines before any holes are cut.
Pendant Lighting Details & Technical Considerations
Great looks start with solid technical planning. Simone advises on ceiling conditions, junction box layout, fixture sizing, and controls so installation is smooth and safe—and the light performs as intended.
Key details to plan include:
- Ceiling & Junction Boxes: Confirm blocking for heavy fixtures, align boxes precisely, and plan canopy solutions for sloped or beamed ceilings.
- Fixture Spacing & Balance: Typical bottoms sit 30"–36" above the counter; space pendants about one shade diameter apart and 6"–12" from island ends.
- Electrical & Code: Coordinate dimmers, smart switches, and circuit loads; follow local codes for clearances and GFCI where applicable.
- Light Quality & Maintenance: Target 2700K–3000K and CRI 90+; choose diffusers or frosted bulbs to cut glare; specify finishes that clean easily.
In compact kitchens, careful spacing, smaller shades, and layered lighting (pendants plus under-cabinet) deliver brightness without bulk.
Kitchen Island Pendant Lighting Tips
Simone’s decades of kitchen design experience inform these practical tips for successful island pendants:
- Mock up first: Use painter’s tape and cardboard circles to test diameter, spacing, and sightlines.
- Hire a qualified electrician: Proper box placement, dimmer compatibility, and safe mounting are essential.
- Prioritize usable light: Ensure total lumens support prep and dining; layer with recessed and under-cabinet lighting.
- Manage glare: Select diffusers, frosted bulbs, or fabric/opal shades to soften hotspots.
- Think long-term: Favor replaceable LED bulbs or reputable integrated LED fixtures with good warranties and finish durability.
- Work with a certified designer: A CKBD/CBD-certified pro like Simone ensures safety, ergonomics, and performance details aren’t missed.
Kitchen Island Lighting Resources
To help you choose the right number and size of pendants, Simone Feldman Designs offers in-depth guides that also inform broader kitchen decisions. These resources clarify budgets, timelines, material choices, and layout considerations that directly influence island lighting.
- How Much Does a Kitchen Remodel Cost in Atlanta?
- What Is the Most Expensive Part of a Kitchen Remodel?
- How Long Does a Kitchen Remodel Take?
- Should I Replace Cabinets or Reface Them?
- Is Quartz Better Than Granite?
- Best Countertops for Busy Families
- Best Kitchen Layouts
- Kitchen Remodel ROI
- Kitchen Trends for 2026
- Open Concept vs Traditional Kitchens
These articles complement pendant planning, giving you the context to make smart lighting choices with Simone’s expert guidance—whether you land on one linear island light or a pair or trio of pendants.
Frequently Asked Questions
How long does planning island pendant lighting take?
The planning phase typically takes one to three weeks, depending on fixture lead times, ceiling conditions, and electrician availability. Simone uses 3D elevations and renderings to finalize sizes, heights, and spacing efficiently.
Does Simone handle permits and construction coordination?
Yes. Many lighting updates don’t require permits, but electrical work may. Simone coordinates electricians, schedules, code compliance, box placement, and site conditions so installation is seamless.
Can Simone help with aging-in-place or accessibility features?
Absolutely. Simone specifies higher CRI lighting for clarity, layered illumination with dimming for comfort, low-glare shades, and intuitive controls to support long-term ease of use.
What if I'm not sure about fixture size or style?
Simone compares options—mini vs. medium pendants vs. a linear light—and helps balance scale, finish, lumen output, glare control, and cost to create a cohesive look that performs.
How involved is Simone during construction?
Simone stays closely involved—reviewing ceiling layouts, confirming junction box locations and heights, coordinating dimmers, and visiting the job site to ensure the installation matches the approved lighting plan.
Start Planning Your Kitchen Island Pendants
Well-planned pendants elevate your island’s function and style. With Simone Feldman’s 40+ years of experience, CKBD/CBD certification, and construction-savvy approach, you’ll get expert guidance on fixture sizing, spacing, dimming, and installation that look stunning and work hard every day.
Now accepting new clients in Roswell, Alpharetta, Johns Creek, Milton, and surrounding Atlanta communities. Call Simone Feldman Designs today at (404) 386-9487 or email simonef_ckdcbd@comcast.net to schedule your consultation.